

How to Configure User Settings?
Follow the steps below to configure user settings:
Step 1:
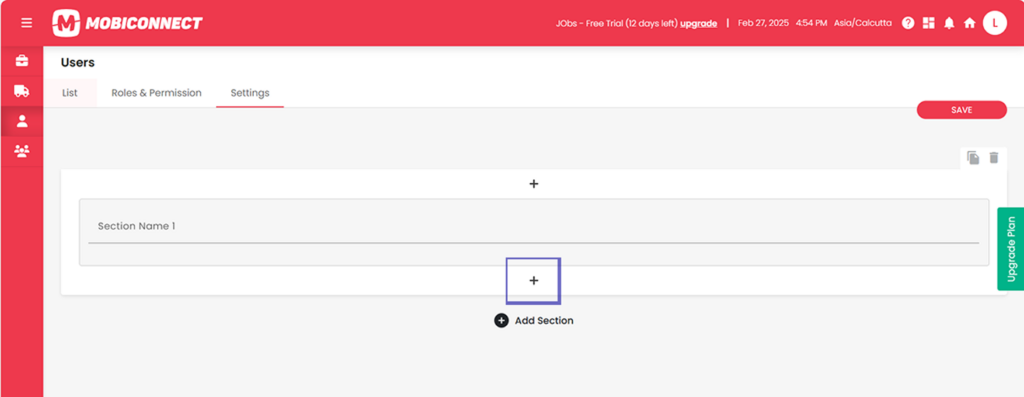
Navigate to the ‘Settings’ tab under the ‘Users’ section.
Step 2:
Click on the ‘plus icon’ or ‘Add Section’ button at the bottom to introduce a new element or configuration section.
Step 3:
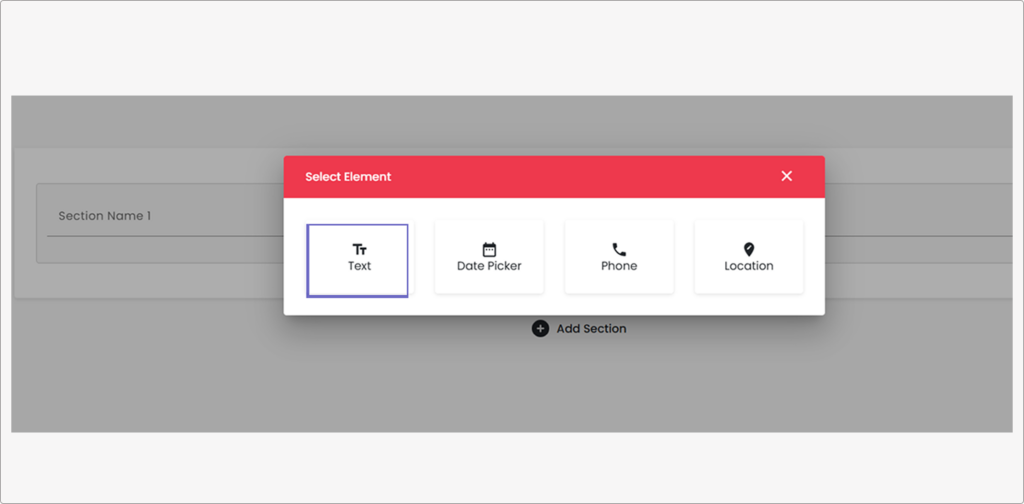
Choose an element type to add by clicking on the corresponding icon (e.g., Text, Date Picker, Phone, Location) from the ‘Select Element’ popup.
Step 4:
Configure the selected element:
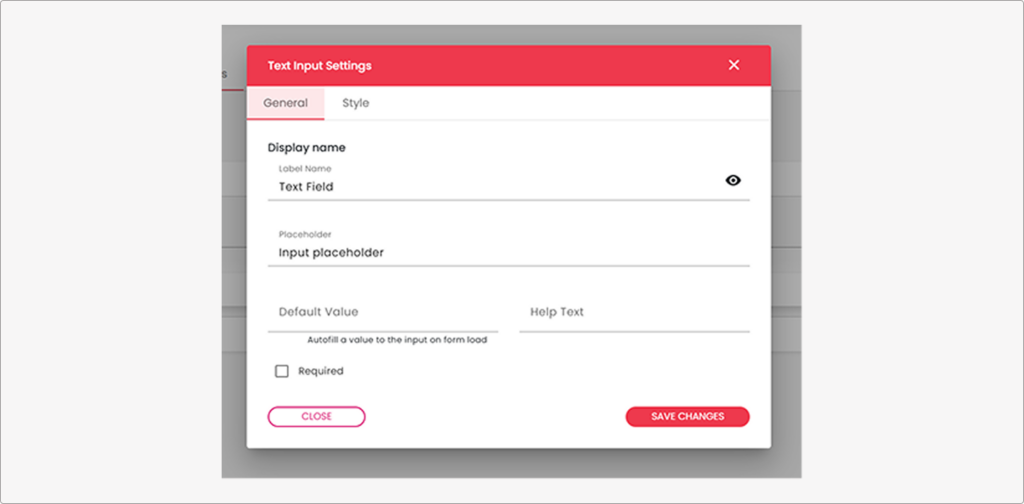
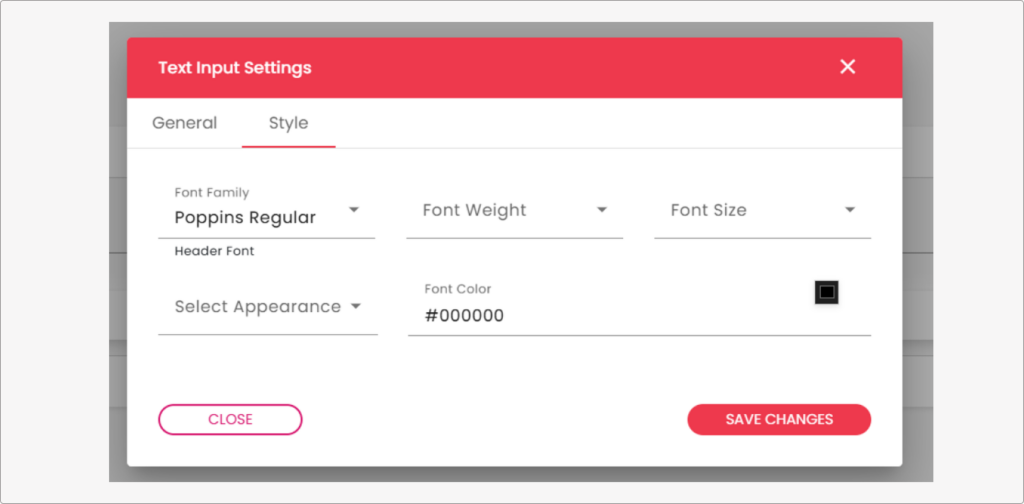
For a text input, as shown in the ‘Text Input Settings’ popup:
- Enter a ‘Display Name’ for the text field.
- Specify a ‘Placeholder’ to appear within the text field before input.
- Set a ‘Default Value’ if required, which pre-populates the field.
- Add ‘Help Text’ to provide users with guidance or additional information about the input expected in the text field.
- Check the ‘Required’ box if the field must be filled out
Click on ‘Save Changes’ to apply the settings to the new text input.
Click on ‘Close’ if you need to exit the settings popup without saving changes.
Step 7:
After setting up the elements, return to the main settings screen
Click on ‘Save’ to finalize all changes and additions made in the settings tab.